 Tetrate Service BridgeVersion: 1.13.x
Create a Workspace
In this section, you're going to create a Workspace called bookinfo-ws bound
to the bookinfo namespace.
Before you get started, make sure you:
✓ Familiarize yourself with TSB concepts
✓ Install the TSB demo environment
✓ Deploy the Istio Bookinfo sample app
✓ Create a Tenant
In this example, the demo app is running in a single cluster and a single
workspace. If you have followed the previous steps by installing the TSB demo,
and deploying the bookinfo app, you should have a cluster called demo, and a
namespace called bookinfo. We will be assuming these variables in the
remainder of this quickstart scenarios guide.
Namespace selectors in TSB have the following format: {cluster}/{namespace}. In
this demo the namespace selector will be demo/bookinfo.
Using the UI
- Under Tenant on the left panel, select Workspaces
- Click the card to add a new Workspace
- Enter the Workspace ID
bookinfo-ws - Provide your Workspace with a display name and description
- Enter as Initial namespace selector
demo/bookinfo - Click Add
If you previously onboarded the demo app successfully you should see something similar to:
- 1 Cluster
- 1 Namespace
- 4 Services
- 1 Workspaces
Using tctl
Create the following workspace.yaml
apiversion: api.tsb.tetrate.io/v2
kind: Workspace
metadata:
  organization: tetrate
  tenant: tetrate
  name: bookinfo-ws
spec:
  namespaceSelector:
    names:
      - "*/bookinfo"
Apply with tctl
tctl apply -f workspace.yaml
If you previously onboarded the demo app successfully, go to the UI and display
Tenants, you should see something similar to:
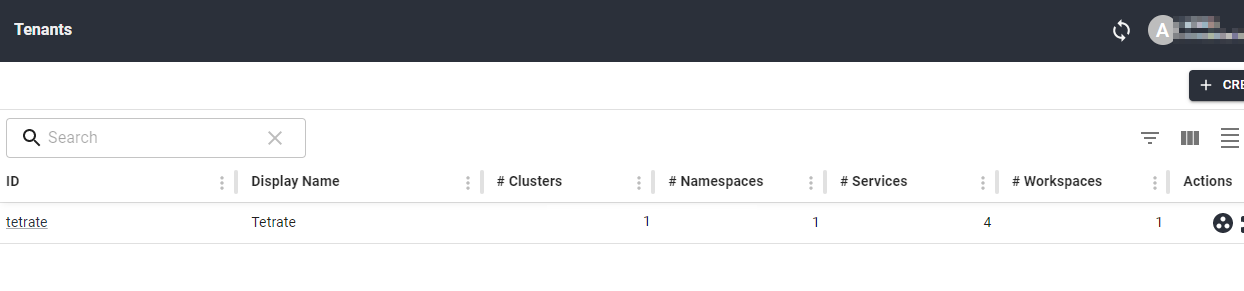
- 1 Cluster
- 1 Namespace
- 4 Services
- 1 Workspaces