How to deploy an application to a TSE-managed cluster
Your application developers deploy applications to a TSE-managed cluster using exactly the processes and tools that they are familiar with.
An individual team will typically operate within a well-defined set of namespaces assigned to them by the Platform Owner; this allows for resource isolation and multiple tenants within a single Kubernetes cluster. You prepare by creating the necessary Kubernetes namespace(s) for the application, and creating a TSE workspace that groups these namespaces into a single resource.
In this section, we'll walk through the process of deploying the Istio bookinfo application. We'll use this application in the subsequent steps in this Getting Started guide. The process is similar to the one explained in the Deploy a Test App instructions.
Deploy an Application into a TSE-Managed Cluster
Create the Namespace and Workspace
Create the Kubernetes namespace, and corresponding TSE Workspace
Deploy the BookInfo App
Deploy the Bookinfo Application into the Kubernetes namespace
Test the BookInfo App
Send some internal traffic through the Bookinfo App
Create the Namespace and Workspace
Create a namespace called bookinfo, and configure it to be part of the TSE-managed mesh:
kubectl create namespace bookinfo
kubectl label namespace bookinfo istio-injection=enabled
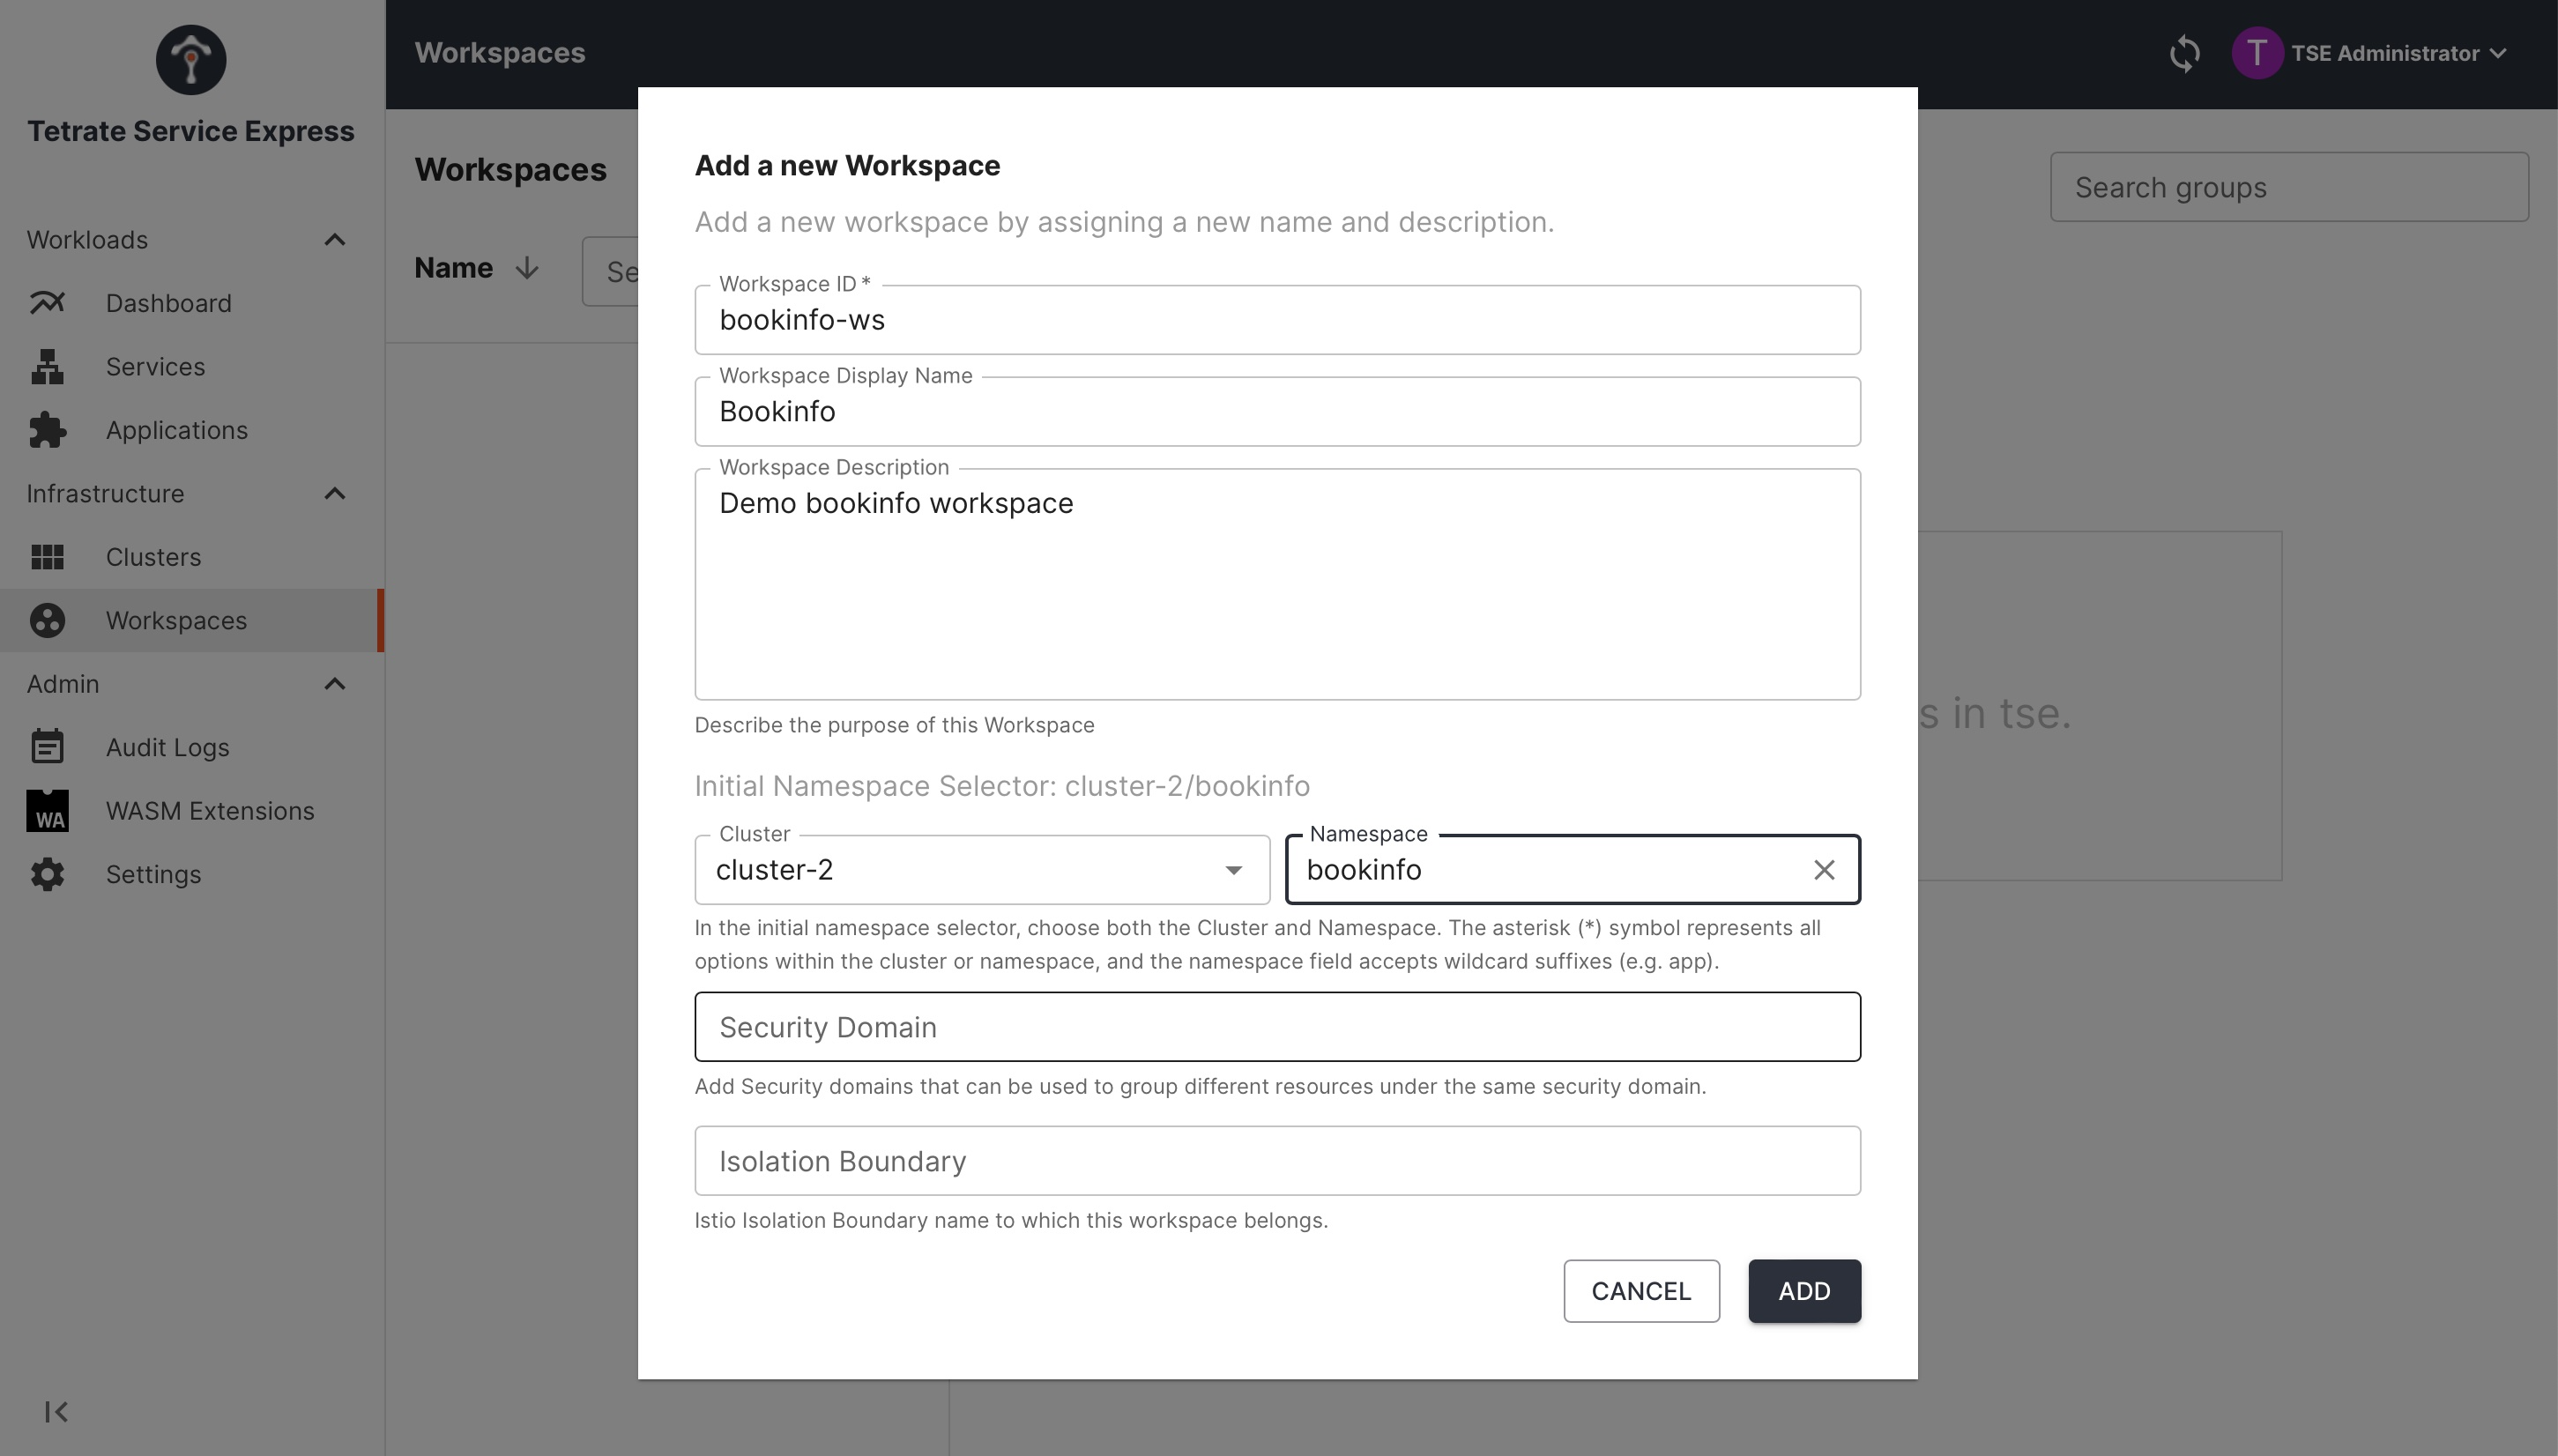
You can now create the corresponding TSE workspace. A workspace is a collection of one or more K8s namespaces, on one or more K8s clusters. TSE uses workspaces, not namespaces, as the basic target for configuration and grouping:
- TSE UI
- CLI/API
If the bookinfo namespace does not appear in the dropdown (TSE syncs the state from the clusters periodically), enter it in the text field:
Create bookinfo-ws.yaml, and apply using tctl:
cat <<EOF > bookinfo-ws.yaml
apiversion: api.tsb.tetrate.io/v2
kind: Workspace
metadata:
  organization: tse
  tenant: tse
  name: bookinfo-ws
spec:
  namespaceSelector:
    names:
      - "*/bookinfo"
EOF

tctl apply -f bookinfo-ws.yaml
Deploy the BookInfo App
The Application Owner can now deploy applications into the bookinfo namespace, using standard Kubernetes APIs and methods:
kubectl apply -n bookinfo -f https://raw.githubusercontent.com/istio/istio/master/samples/bookinfo/platform/kube/bookinfo.yaml
Test the BookInfo App
You can test that the app functions by sending a request from the ratings pod to the productpage pod:
kubectl exec deploy/ratings-v1 -n bookinfo -- curl -s productpage:9080/productpage | grep -o "<title>.*</title>"
Once the app is running, you should see the output <title>Simple Bookstore App</title>.
If you don't get a response, or see the response RBAC: access denied, then disable the Administration Setting Deny-All as described in the Installation Guide.
Cleaning Up
You can clean up the application deployment as follows:
-
Delete the bookinfo application and the bookinfo namespace:
kubectl delete -n bookinfo -f https://raw.githubusercontent.com/istio/istio/master/samples/bookinfo/platform/kube/bookinfo.yaml

kubectl delete namespace bookinfo -
Delete the bookinfo-ws workspace in TSE, using either the UI or with
tctl:tctl delete ws bookinfo-ws
 Create the Bookinfo workspace 'bookinfo-ws'